
I can’t believe it’s been 6 years since we welcomed little Miss Cherry into our family and to the wonderful world of blogging! I just love scrolling back through previous posts and revisiting incredible milestones just like this one!
Yesterday we celebrated Cherry’s 6th birthday with a close group of friends and their dolls with an intimate tea party. There were pretty pink peonies, fancy tea-pots of freshly brewed peppermint tea, homemade scones with red raspberry jam, precious porcelain dolls and of course our delicious Marshmallow Party Cake made by yours truly, Cherry and Me!
This week, we thought we’d share with you our simply steps on how we created our show stopping master-piece… as we like to call it… The Marshmallow Party Cake!

Step one:
You don’t need to be a hero and bake your cake from scratch… Ain’t nobody got time for that! We speeded up the baking process with a store bought Chocolate Mud Cake Mix from Robert’s Confectionary. The recipe was super easy to follow and tasted better than a bought one! We baked 4 round thin cakes for our layered tower. We found the 2kg packet was the perfect amount.

Step two:
We also used store bought vanilla icing mix and jazzed it up with red raspberry flavoured food colouring. In the past, we’ve made our own butter cream by beating butter and sugar but this saved so much time and cleaning up! More time better spent decorating!


Step three:
We like to create a cavity down the centre of our cakes and fill them with lollies to ad an element of surprise when it’s cut open! We simply use a circular guide, like a small glass and press out a whole in all cakes, bar the top layer.

Step four:
Splodge that pink icing in between the cakes to create a layered stack.

Step five:
Fill the cavity with lollies right to the brim! Cherry and Tiger like this step best!
One for you, one for me.


Step six:
Close the secret passage with the top cake layer and frost the top with a generous dollop of icing.

Step seven:
We roughly smoothed the icing around our cake to create a “semi-naked” look which is all the rage now 😉

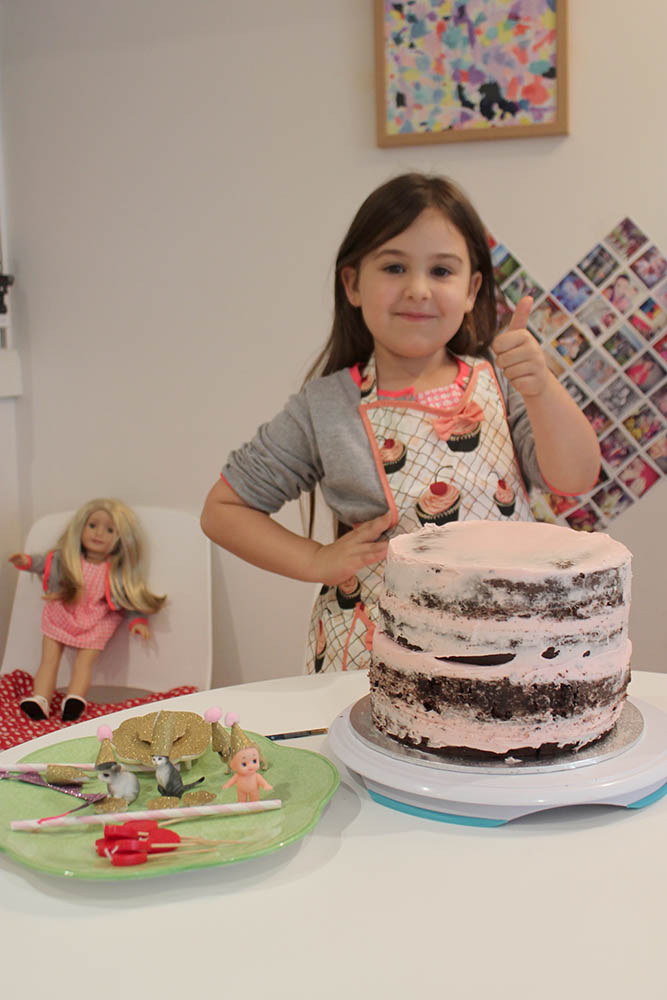
Step eight:
Decorate! We created a tea-party theme on top of our cake by sprucing up some doll’s house furniture and miniature animal figurines. I bought gold glitter paper from a craft store and made tiny party hats and crowns for the animals. So cute! I also made bunting with some purple glitter tape, string and paper straws.


We used a tiny dab of PVA glue to stick details on the miniature party table and finished the cake off with edible confetti.

Party time!


Cherry and Me

 We loved watching the lollies spill out when the cake was cut open! There was so much left over, we’ll be eating cake for the next week!
Thank you Robert’s Confectionary for supplying us with products for this post!